On the system where you want to install the Discovery Agent, log in as administrator and execute the installer – or install with administrative rights. This is necessary because otherwise you can’t install a service, and you wouldn’t get all the details about security patches that you need for your vulnerability management.
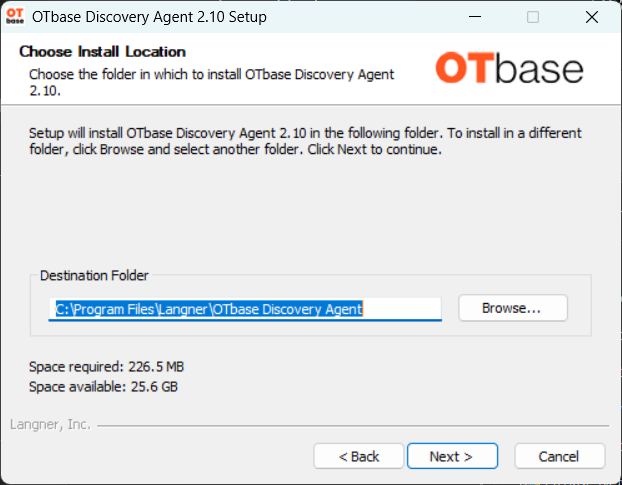
You can change the default destination folder if you want.
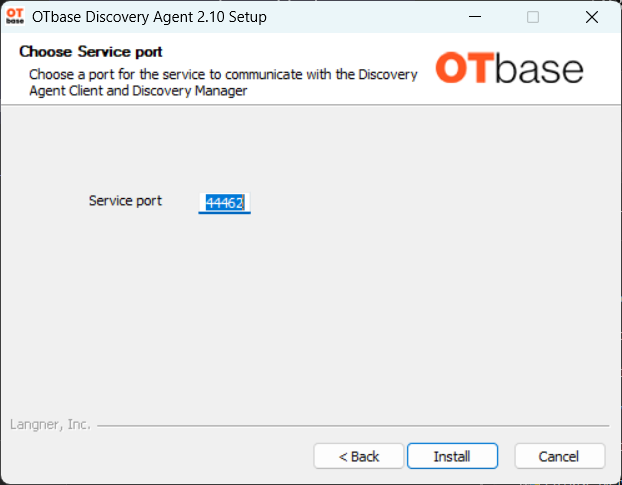
You can specify the service port, which is used for communication with OTbase Discovery Manager. Default port is preconfigured.
Once the installation is complete, the OTbase Discovery Agent will launch automatically. You can check in the services list. Please note that a proper configuration of the OTbase Discovery Agent is mandatory, without it there is no data collection and export. To learn more about the configuration, please proceed to the Configuration Article.
Script-Based Installation (Silent Installation)
If you want to install OTbase Discovery Agent using a script (for example controlled by Microsoft SCCM), then call the installer with the command line option /S for "silent" (Here we use a capital "S").
Below is a list of additional parameters you can use for script-based/ silent installations.
| Parameter |
Description |
| /FORCE |
Force stops client and/or service before installing (may be useful
in silent mode)
|
| /REBOOT |
Reboot after installation. |
| /Port= |
Set TCP port number for communication between OTbase Discovery Agent
service and and the OTbase Discovery Manager.
Please note that the parameter changed with v2.10.
|
| /NoAgentClient |
Installs OTbase Discovery Agent without the user interface. |
| /ProbingIsActive= |
Allowed values:
yes, no
Preconfigures Agent to start probing immediately without needing
to configure manually. Example:
/ProbingIsActive="yes"
|
| /ExportIsActive= |
Allowed values:
yes, no
Preconfigures Agent to start export immediately without needing
to configure manually. Example:
/ExportIsActive="yes"
|
| /LocationID= |
Preconfigures Agent to use the specified LocationID. Example:
/LocationID="office"
|
| /ExportType= |
Allowed values:
file, https, http, ssh
Preconfigures Agent to use the specified export type. Example:
/ExportType="https"
|
| /ExportAddress= |
Preconfigures Agent to use the specified address (OTbase Proxy
or Otbase Inventory). Example:
/ExportAddress="192.168.10.111:443"
|
| /ExportPath= |
Preconfigures Agent to use the specified path for exports. Example:
/ExportPath="/agent-sink/agentsink.php"
|
| /ProxyAddress= |
Preconfigures Agent to use a proxy for exports. Example:
/ProxyAddress="192.168.20.110"
|
| /ExportUser= |
Preconfigures Agent to use the specified username during export.
The username will be encrypted and stored as username_encrypted.
Example:
/ExportUser="user"
|
| /ExportPassword= |
Preconfigures Agent to use the specified password during export.
The password will be encrypted and stored as password_encrypted.
Example:
/ExportPassword="password"
|
| /ProbingAt= |
Preconfigures Agent to execute the probe at the given time. Please
note that if the time is not in the right format, the agent will
default to midnight.
Example:
/ProbingAt="21:42"
|
Note: Stopping the OTbase Discovery Agent service before installing or rebooting the device afterwards if needed is not done by the installer in silent mode! This has to be taken care off by the script calling the installer.
Comments
0 comments
Please sign in to leave a comment.